
Telia Smart Connect is also available as an app on both the App Store and Google Play. This means that you can access your switchboard on your mobile devices with just a few taps, making it even more convenient to have full control.




Mobile App – Get Started
The Telia Smart Connect mobile app brings the core features of Smart Connect to your phone, keeping you in control of your calls, queues, and availability on the go.
In this user guide you get started with the basics:
- How to download the app
- How to log in to the app
- How to go through the onboarding
How to get started with the Telia Smart Connect mobile app
Download the app
The mobile app is available to all Telia mobile customers who use Telia Smart Connect. Download it in Apple App Store or Google Play Store via the links below.
The mobile app is available to all Telia mobile customers who use Telia Smart Connect. Download it from the App Store or Google Play via the links below.
Username and password
- Your username is your mobile number.
- Your password is the same as in the Telia Smart Connect switchboard.
- If you don’t have a password yet, tap “Forgot your password?” on the login screen and enter your username. You will then receive an SMS or email with a link to set your password.
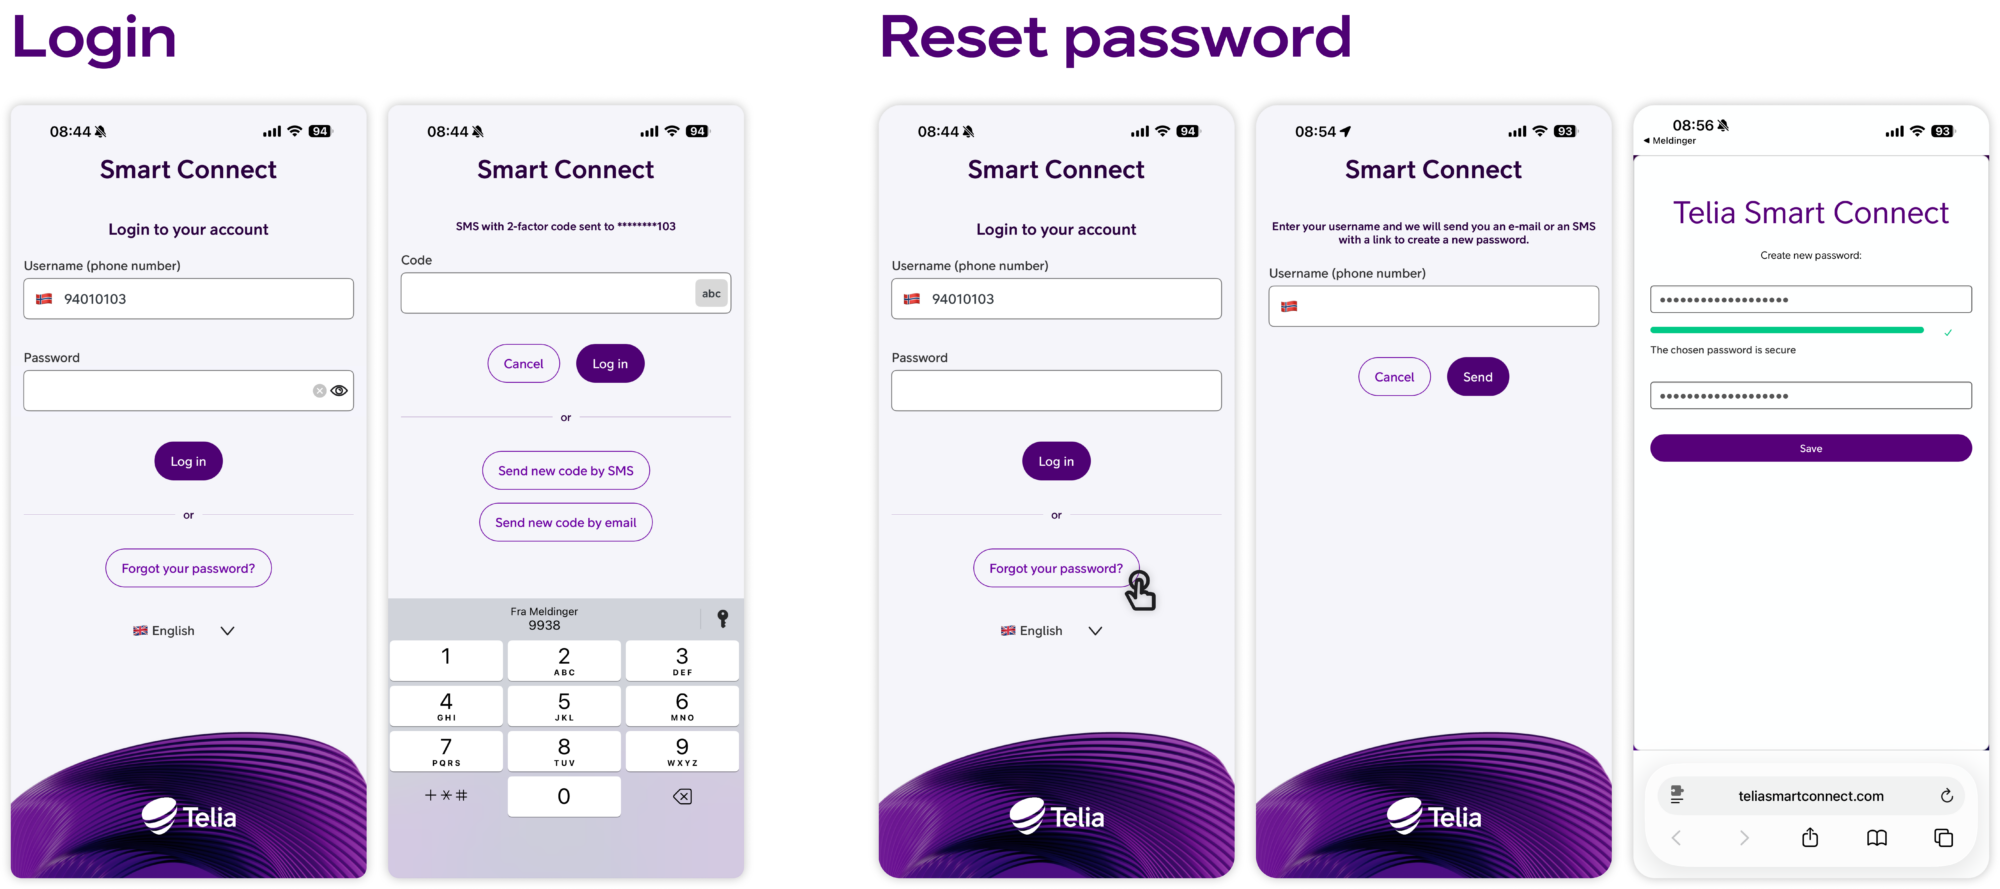
Onboarding flow
The onboarding guides you through a few key settings to make sure you get the most out of the app. It appears the first time you log in, and you can choose to complete it or skip it and return to it later.
To access onboarding after your first login:
- Enter the home screen.
- Tap the cog wheel at the top.
- Tap Onboarding.
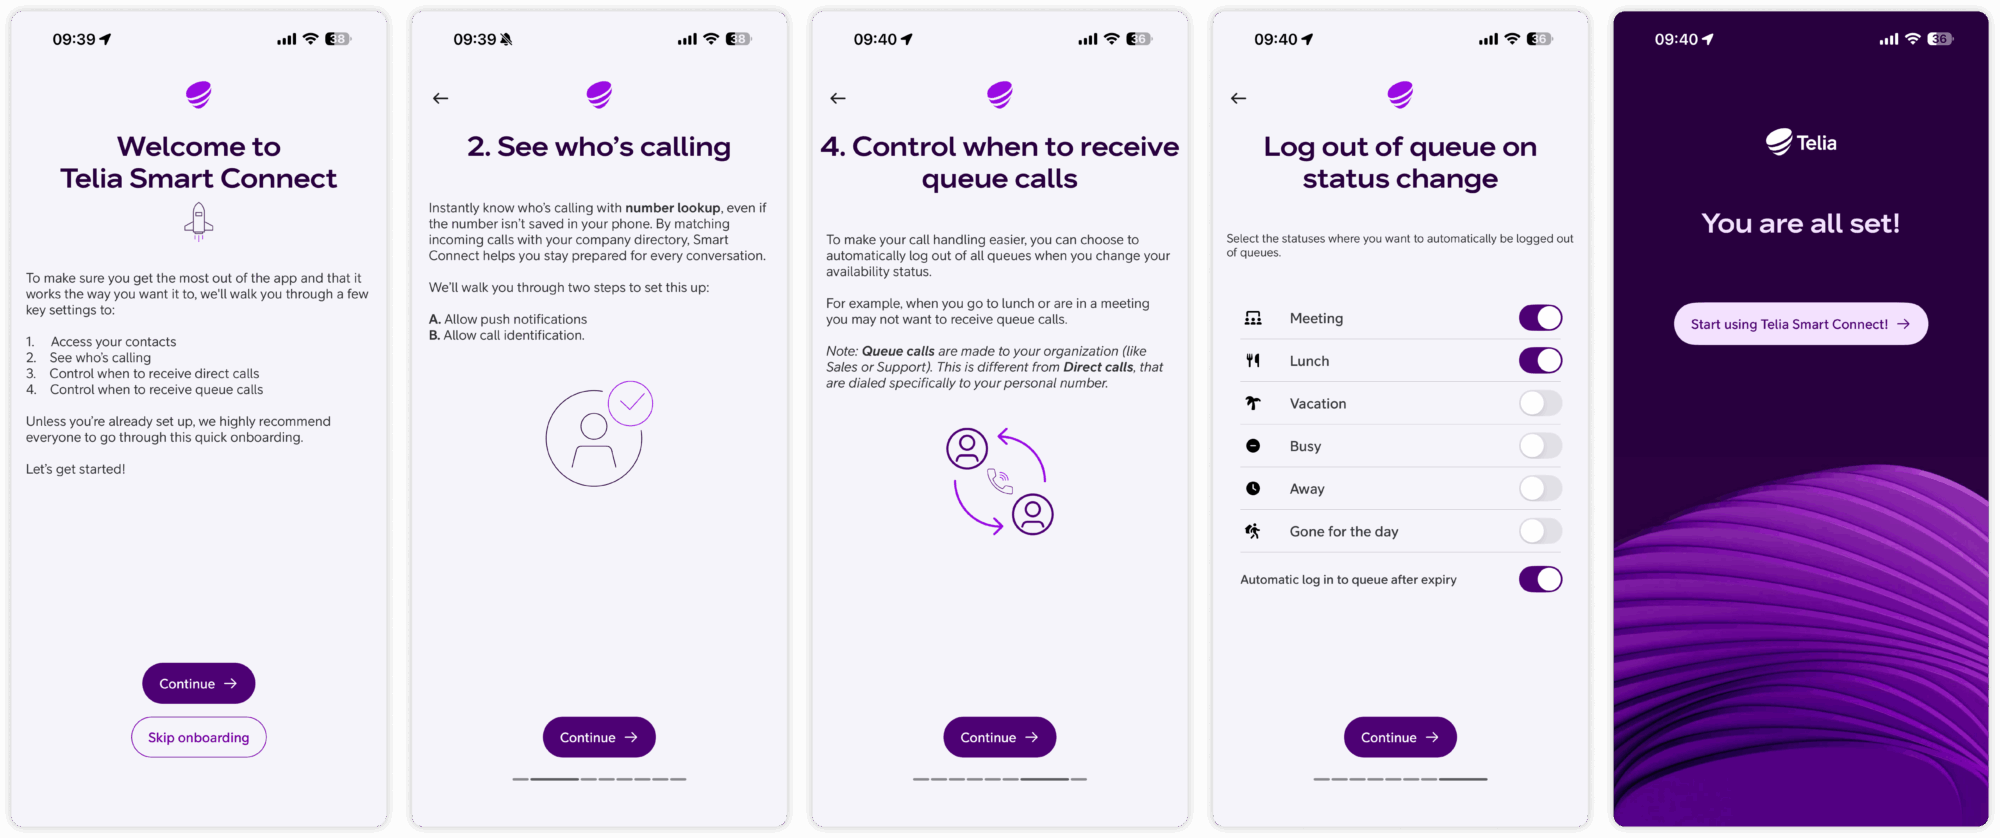
The onboarding walks you through four steps:
1. Access your contacts and phone calls
Granting these permissions lets the app import numbers from your phone, so you can easily call contacts and see their names in call logs.
iOS:
- Toggle on Allow access to contacts.
- Confirm the permission when prompted by your device.
Android:
- Toggle on Allow access to contacts.
- Toggle on Allow access to make and manage phone calls.
- Toggle on Allow push notifications.
- Confirm any permissions prompted by your device.
Note: You can edit these settings at any time in your device’s Settings.
2. See who’s calling
This step sets up number lookup, so you can see who’s calling even when the number isn’t saved in your phone. The steps differ depending on your device.
iOS:
Step A – Allow notifications:
- Toggle on Allow push notifications.
- Tap Allow when your device prompts you.
Step B – Allow call identification:
- Tap Go to phone settings.
- Go to Settings > Apps > Phone > Call Blocking & Identification.
- Toggle on Smart Connect.
Android:
- Tap Display in front of other apps to open Android settings and enable the permission.
- Tap Battery optimisation to open Android settings and allow the app unrestricted battery usage.
Note: You can edit these settings at any time in your device’s Settings.
3. Control when to receive direct calls
This step guides you to set up your availability settings, so you can control how incoming direct calls are handled when you change status — for example, forwarding to a colleague or voicemail when you are in a meeting.
- Select an availability status (e.g. Meeting or Vacation).
- Set the call forwarding rule for that status — for example, forward to a colleague or to voicemail.
- Repeat for any other statuses you want to configure.
Note: You can edit these settings at any time under Main menu → Availability → Availability settings.
4. Control when to receive queue calls
This step guides you to set up Log out of queue on status change, which automatically logs you out of all queues when you switch to a selected availability status.
- Toggle on the statuses for which you want to be automatically logged out of queues — for example, Meeting, Busy, or Gone for the day.
- Leave statuses like Lunch toggled off if you still want to receive queue calls during that time.
Note: You can edit this setting at any time under Main menu → Availability → Log out of queue on status change.
Tooltips
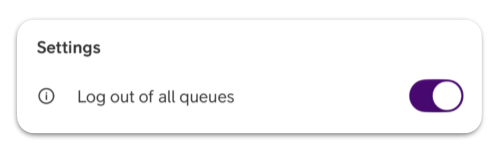
Tooltips give a short explanation of a setting directly in the interface, which is useful when the purpose of a field or toggle is not obvious.
To view a tooltip:
- Locate the info icon ⓘ next to the setting.
- Tap the icon to display the explanation.
- Tap anywhere outside the tooltip to close it.
Note: Tooltips are available in selected parts of the app, so the icon will not appear next to every setting.
Other user guides
For deep dives into specific features, see the user guides below:
FAQ
Q: I can’t sign in. How do I reset my password?
A: On the login screen, tap New password and fill in your username. You will receive an SMS or an email with a link to set a new password. If you are already signed in, you can also change your password under profile settings → Change password.
Q: How do I switch my 2-factor method?
A: Open profile settings and tap 2-factor method. Choose between Code by SMS, Code by Email, or Authenticator app.
Q: Where do I find the onboarding tutorial?
A: It is shown the first time you log in to the app, and it can be revisited through these steps:
- Enter the home screen.
- Tap the cog wheel at the top.
- Tap Onboarding.
User Guides
Here you can find user guides connected to the feature topic. If you can’t find what you are looking for here you might find it in our main user guide archive.
User Guides