
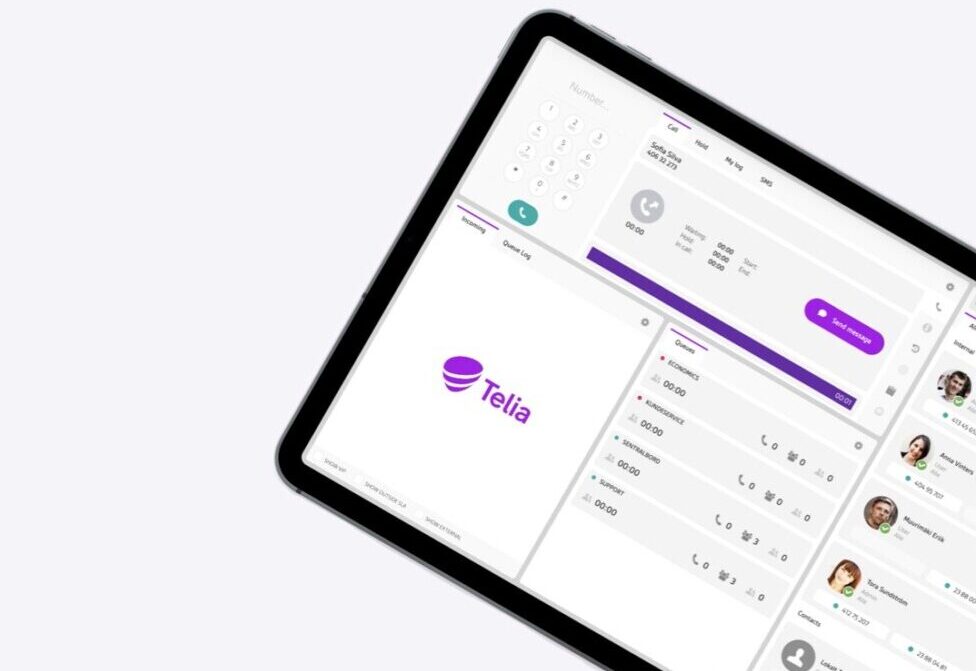
Telia Smart Connect is also available as an app on both the App Store and Google Play. This means that you can access your switchboard on your mobile devices with just a few taps, making it even more convenient to have full control.





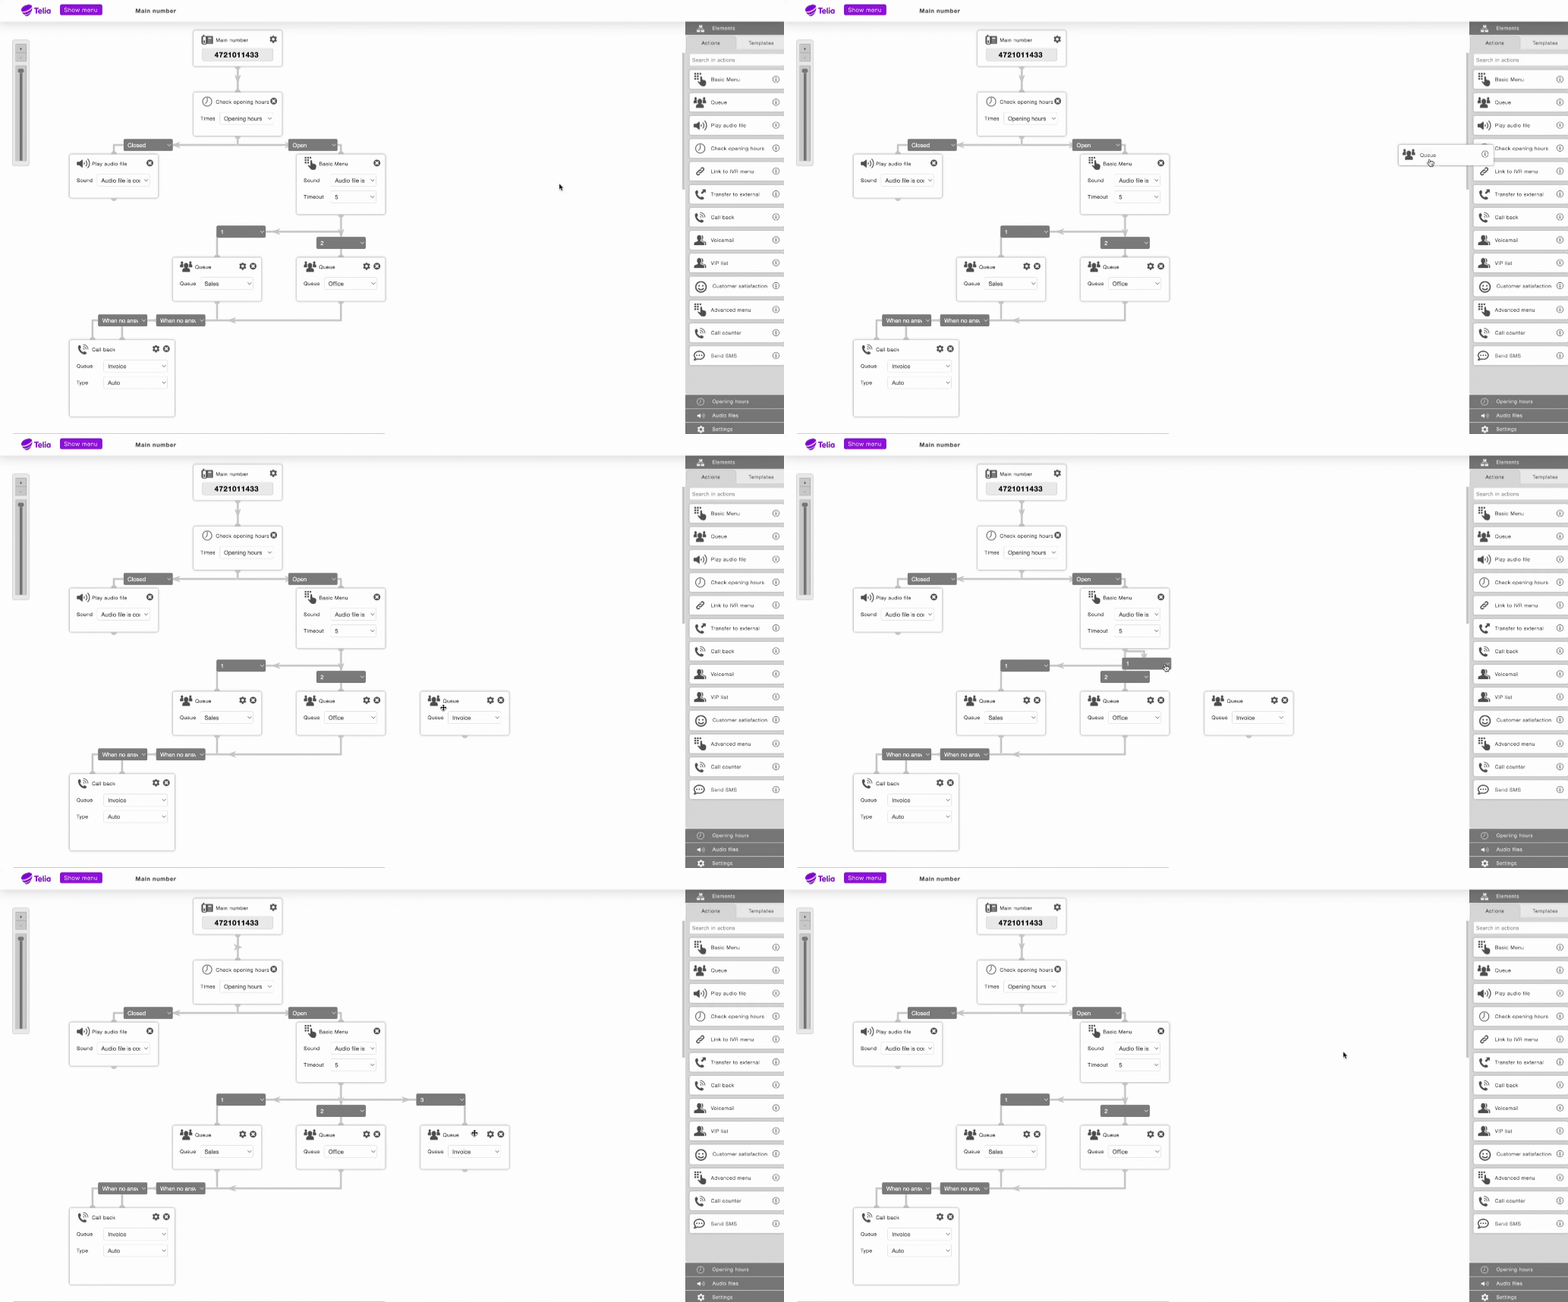
The caller experience often starts before anyone picks up. With Visual Administrator in Telia Smart Connect, you can control exactly what happens from the moment someone dials your main number. Everything is configurable in one place, using a visual drag-and-drop interface.
What is a call flow?
A call flow is the path a call takes from the moment it reaches your main number to the moment it is answered, or handled in another way. In Smart Connect, call flows are built and managed in the Visual Administrator.
Where to find it:
- Go to Administration from the main menu.
- Select Telephony Setup.
- Open the Visual Admin tab.
- Press Open.
Inside Visual Administrator, you build your call flow by dragging elements from the right-hand panel onto the canvas and connecting them in sequence. Each connection is drawn by pulling the arrow from one element to the next. This is what activates the flow between steps.
If you have previously saved call flows, you can open and edit them, or restore an earlier version at any time. You can also test your setup by clicking Show menu → Test IVR on phone and entering a phone number. Note that this places a real call, so it will follow the live call flow and may reach an agent working in a queue.
What can you use it for?
Visual Administrator is the right tool whenever you want to control what happens to calls reaching your company’s main number. Here are the four most common use cases.

Manage opening hours
Define when you’re open, closed, or on lunch, and route calls and audio messages accordingly.

Route callers to queues
Use menus and key presses to direct callers to the right department, queue, or person.

Control audio messages
Play pre-recorded messages at any point in the flow: before answering, during hold, or when closed.

Handle missed calls
Offer callbacks, voicemail, or external transfer when agents are unavailable.
Tips and tricks
1. Use templates to get started quickly
If you’re setting up a call flow from scratch, templates give you a ready-made structure to build from. There are four available, with and without menus, and always open or with opening hours.
Visual Administrator → Templates tab (top right)
2. Always connect your elements with lines
Placing elements in the right order on the canvas is not enough. Each element must be connected to the next by drawing the arrow between them, or the call will not pass through.
Drag arrow from bottom of element → Connect to next element
3. Define what happens in every opening hours state
When using the Check Opening Hours element, make sure every state in your schedule (open, closed, lunch, etc.) has a connected element defining what should happen. If a state has no element connected to it, calls will default to Open – so a lunchtime caller could end up ringing through to a queue even when no one is available.
Go to opening hours element → confirm each state (open/closed/lunch) has a connected element in the flow
4. Restore a previous version of your call flow
If you need to roll back a change, you can access any previously saved version of your IVR. This only works if you have pressed Save at some point, so save regularly as you work.
Show menu → Open → Version dropdown
5. Configure your queue so calls can exit it
If you place a Callback or Voicemail element after a queue but don’t set an exit condition, calls will ring indefinitely and never reach the next element. Set a maximum wait time or an exit condition in the queue settings to ensure calls move on.
⚙ Cog wheel on Queue element → right-hand menu → set Call duration in total and/or Exit in case of queue.
6. Copy call flows for multi-language or complex setups
Build your call flow once, then save it under a new name to create an identical copy, for example a Norwegian and an English version. Use the Link to IVR element to connect them, so callers can choose their language without you needing to maintain two separate full setups.
Show menu → Save as → Enter a name → add Link to IVR element in main flow → select IVR in the dropdown menu
7. Let callers request a callback instead of waiting
Add a queue message such as “Press 9 to be called back”. It plays at regular intervals while the caller waits, and they can opt out of the queue at any point. Connect a Callback element after the queue and match the trigger key to the one in the message.
Drag and drop Callback element → Set Queue in dropdown menu → Set Type in dropdown menu → Tap ⚙ Cog wheel on Callback element for detailed settings
8. Track how many calls you receive outside opening hours
Place a Call Counter element just before the closed audio file to log every call that arrives outside opening hours. You can also add a Callback element after it to offer callers the option to be called back the next business day.
Drag and drop Call Counter element → connect before Audio File element for Closed
9. Use dynamic audio files for easier management
Setting the Play audio file element to “Audio file is controlled by opening hours” links it to the opening hours module, so the correct file plays automatically for each status. It also means audio files can be managed from the mobile app, not just on desktop.
Play audio file element → Dropdown menu → Audio file is controlled by opening hours
10. Keep your audio file library tidy
Remove audio files that are no longer in use to reduce clutter and make it easier to find and manage the files you actually need.
Main menu → Telephony Setup → Audio files → 🗑️ Trash can icon
Want to learn more?
Visual Administrator gives you the tools to build a call flow that works exactly the way your business needs, whether that’s a single queue or a multi-department setup with menus, callbacks, and opening hours. For a full walkthrough of every element and setting, visit the Visual Administrator user guide. If you have questions or want help getting started, get in touch with us.



Ready to connect?
Speak with one of our local sales offices today to learn more about the possibilities and opportunities Telia Smart Connect can bring to your team.
Connect with us